
Master Dry Rub
Ensuring delicious meats
The two key elements to creating delicious meat dishes are 1) dry-rubbing them before cooking and 2) letting them rest afterward. These simple steps are well worth the extra time. In my book, Just Cook with Sally, I feature a number of dry rub recipes with different flavor profiles. It’s also easy to create your own, depending on the type of meat, your menu, and what excites your imagination.
The simplest dry rub is salt and pepper. The act of massaging salt and pepper into the surface of beef, poultry, lamb, and pork prior to cooking enhances the flavor as well as texture. Meats benefit from even a half-hour of being dry rubbed prior to cooking. Generally, six or more hours is preferable.
A dry brine is a dry rub (salt, spices, and herbs) with sugar added. It is meant to be left on the meat for at least a day, and up to three days, and then wiped or rinsed off prior to cooking. Like a dry rub, a dry brine penetrates the meat on a molecular level, tenderizing the muscle and helping it retain moisture when cooked.
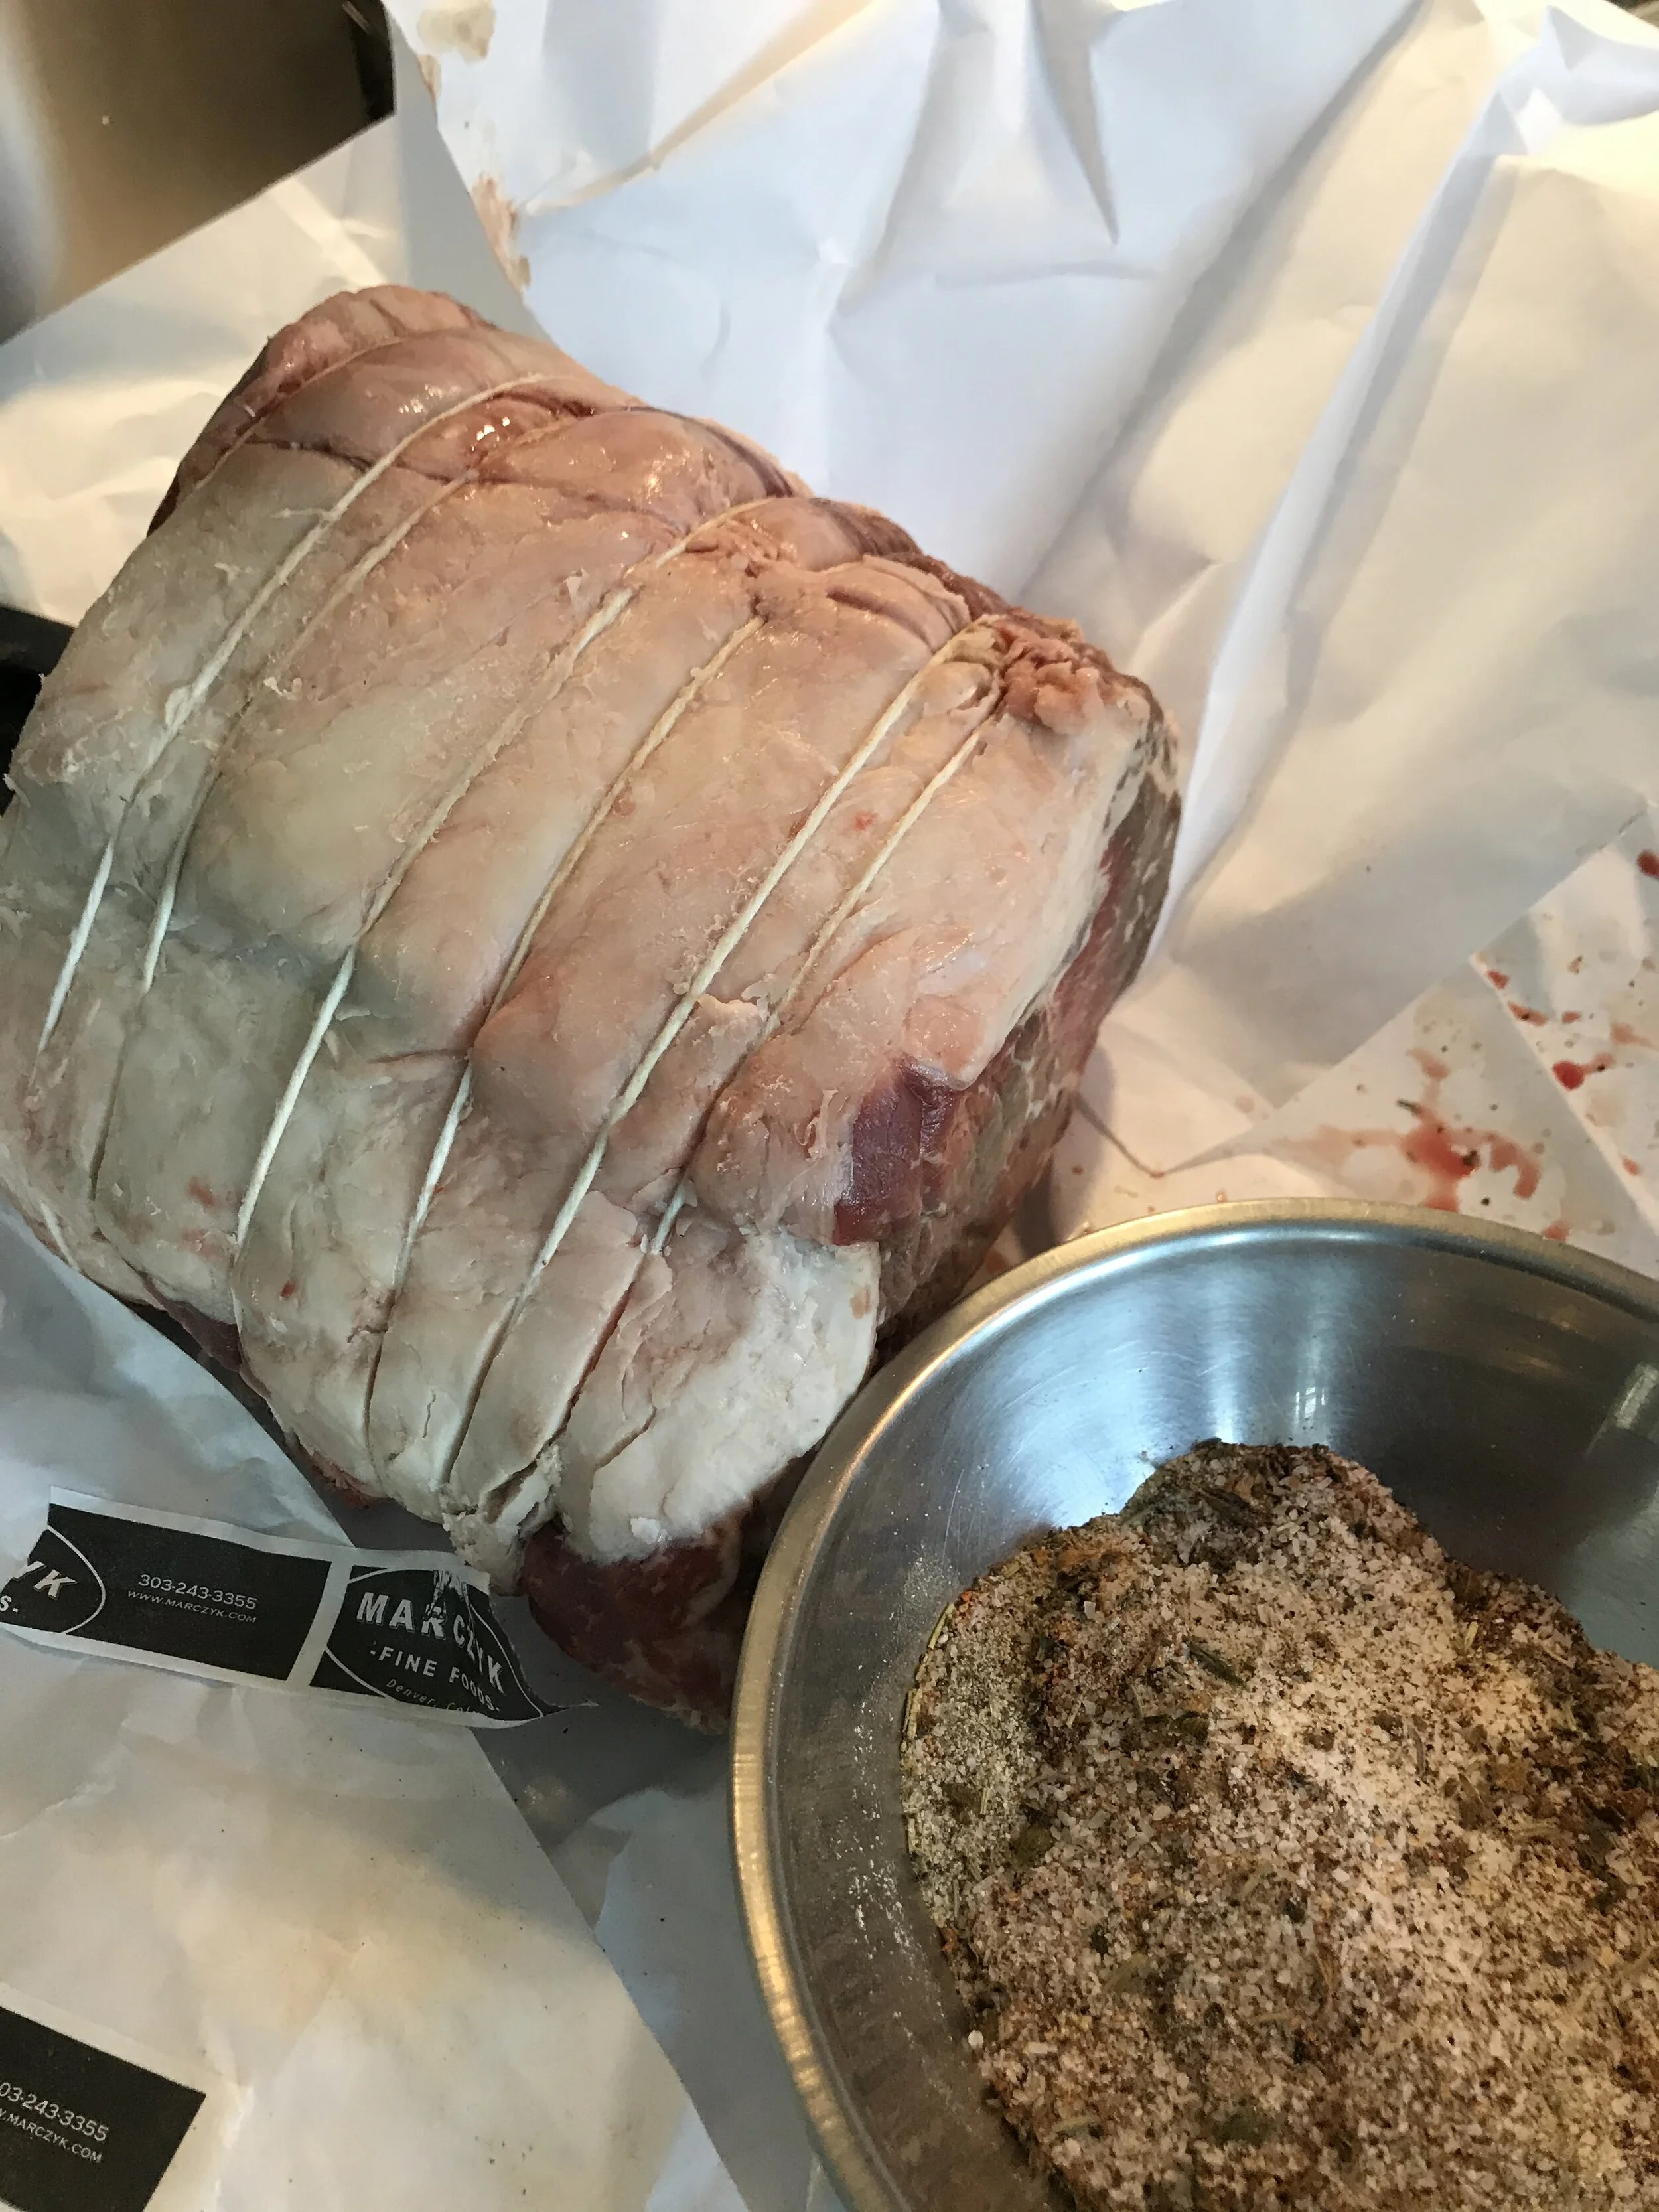
Begin by mixing your dry rub together in a small bowl. It takes more than you think—generally 2 teaspoons of coarse kosher salt and 1 teaspoon pepper per pound of meat. Add an equal amount of herbs and spices, so your ratio is half salt and pepper, half other seasonings. Garlic powder (not garlic salt), onion powder, dry mustard, ancho chile powder, smoked paprika, and all dried herbs are terrific. A touch of cloves, cinnamon, ginger, and cardamom are good additions for lamb dishes. Do not add anything wet such as minced garlic or fresh herbs as the moisture tends to impede the dry rub from penetrating the meat. Adding white or brown sugar in equal parts to the dry rub turns it into a dry brine. Note: Make sure to watch dry-brined meat closely as it cooks because even with rinsing, the sugar can cause the meat to burn.
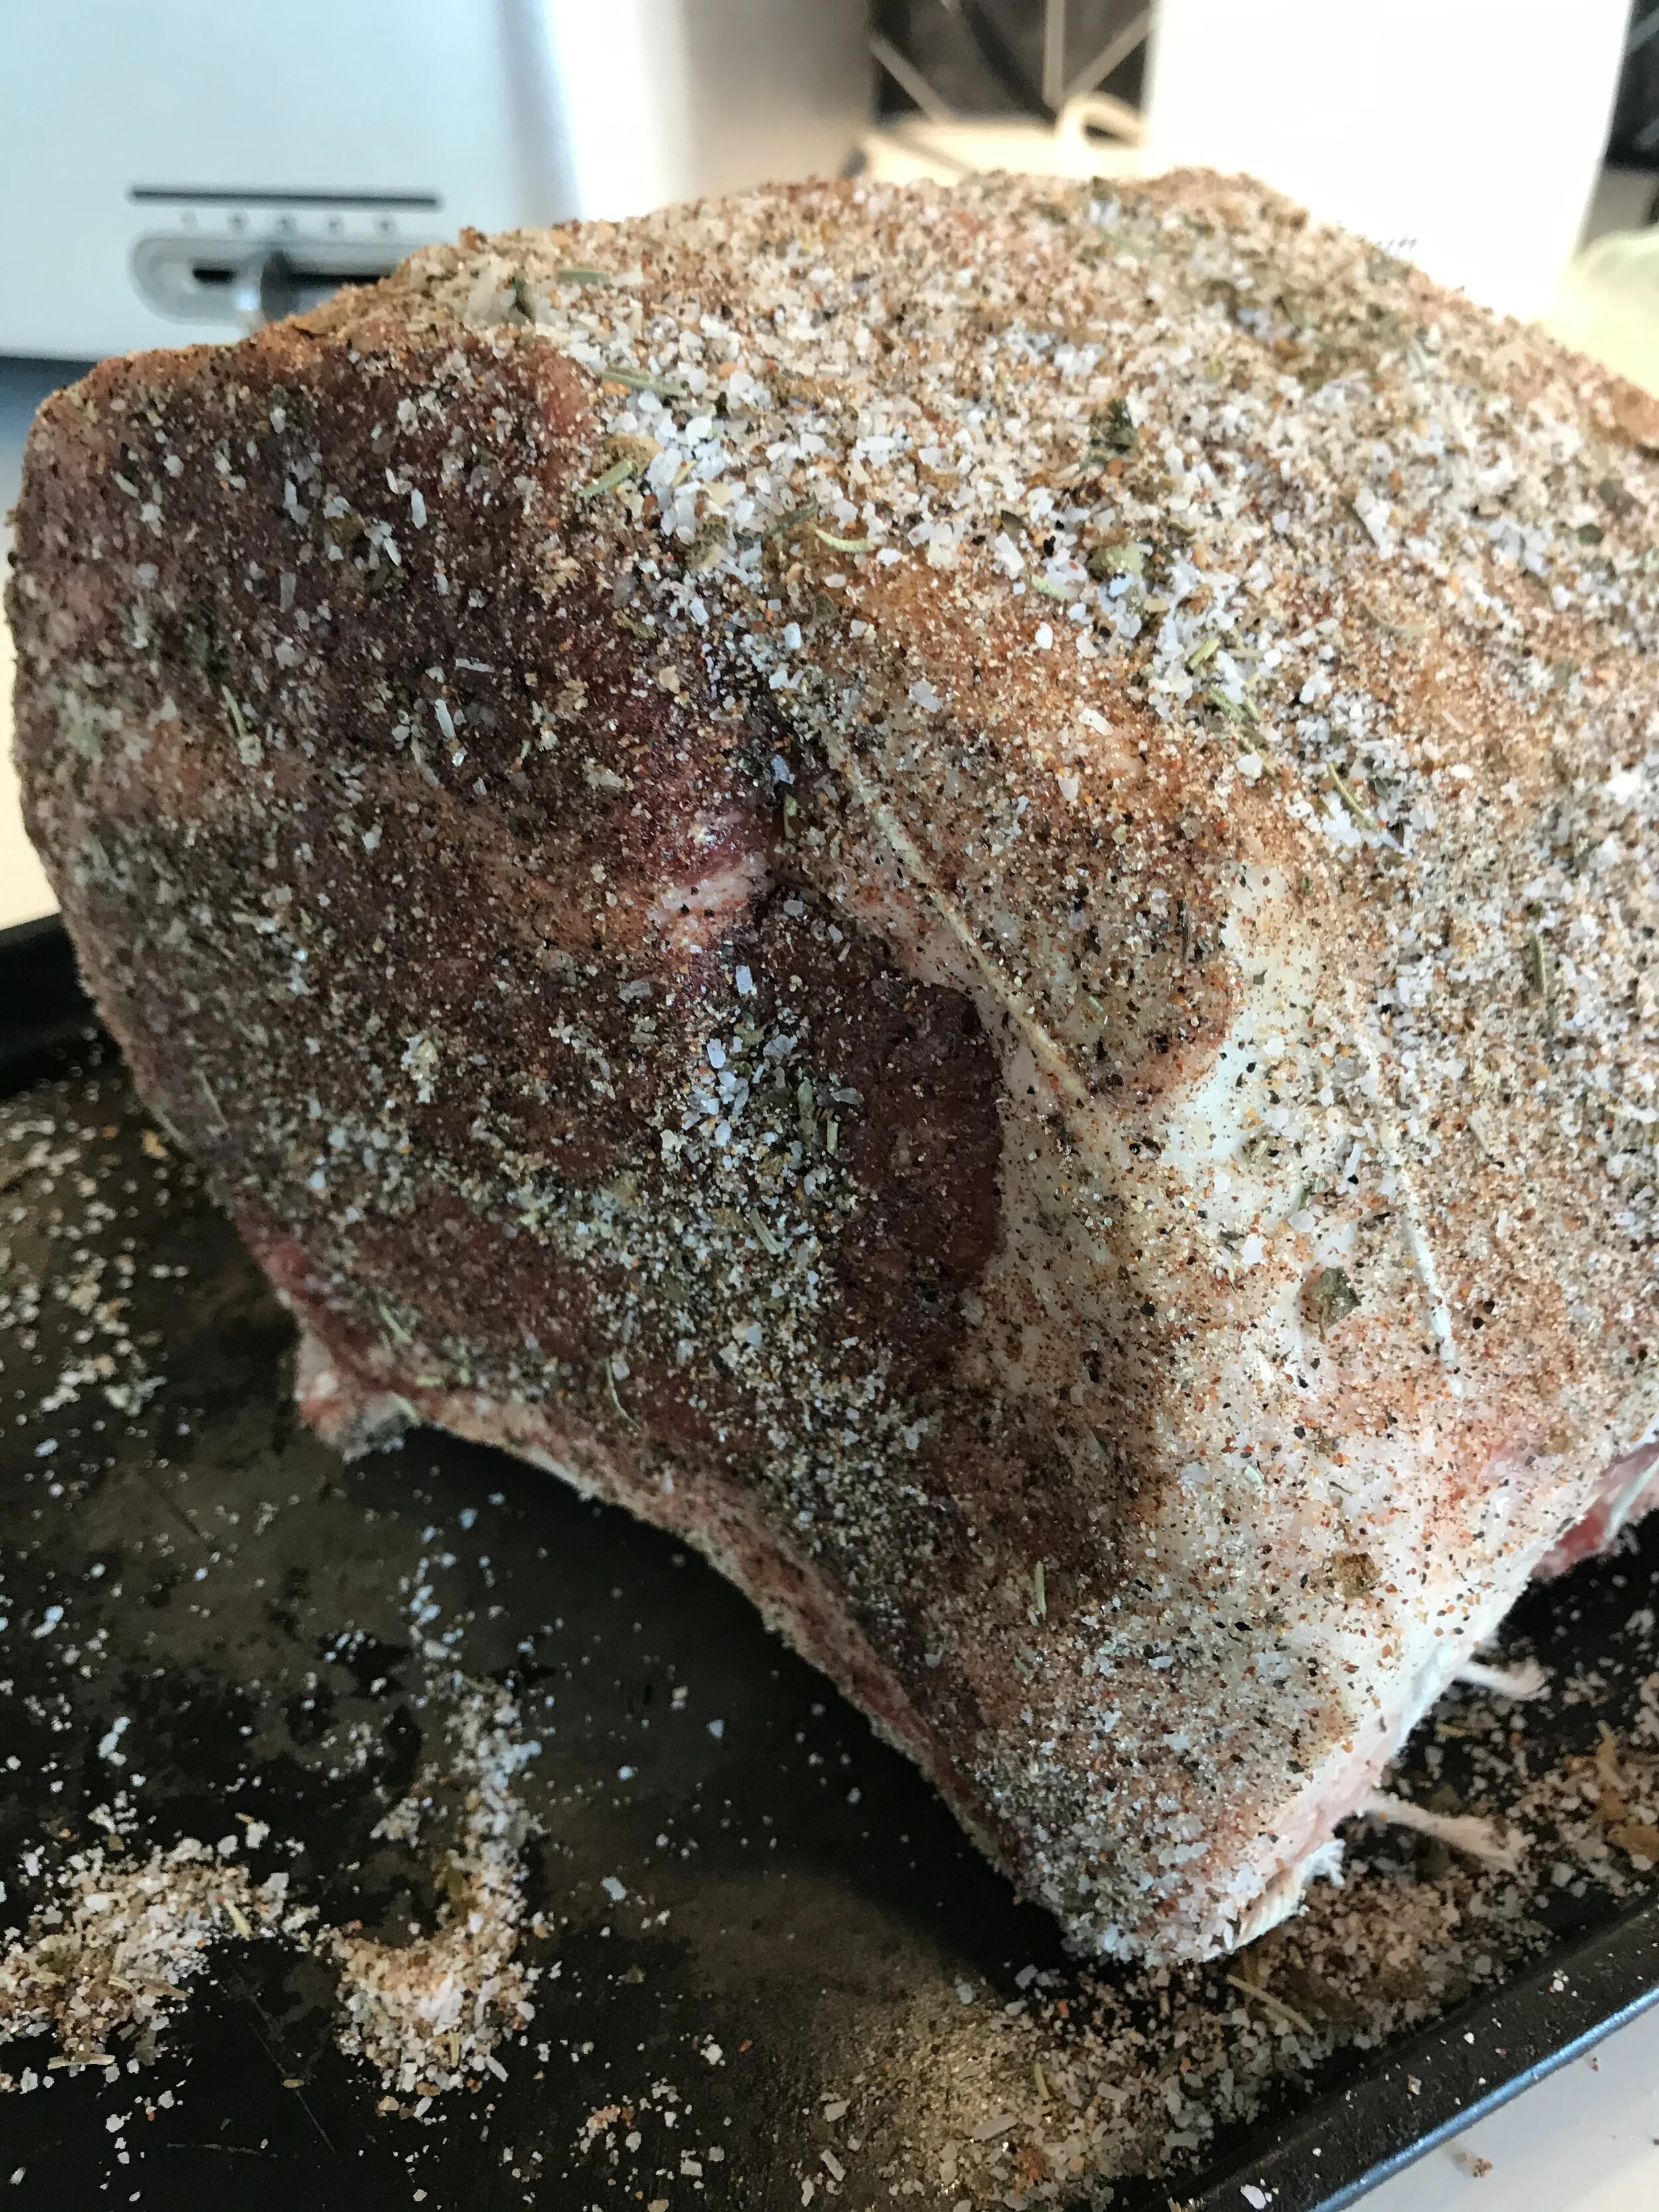
Apply your dry rub liberally and work it into the meat. It’s called a rub, not a sprinkle, for a reason. Once coated, I place the meat on a nonreactive dish, cover it with paper towels, and stick it in the refrigerator. The time spent air-drying in the refrigerator helps the meat develop a crispy exterior. Chicken, in particular, benefits from air-drying. Before cooking, use your fingers to wipe off any excess dry rub, and remember not to add any additional salt, either directly or in salty additions such as soy sauce or canned broth, unless it’s labeled low-sodium.
After the meat has finished cooking, let it rest. This allows the juices to settle and the muscle to relax. Keep in mind that larger cuts of meat will continue to cook while resting. They can increase 5 degrees while resting, pushing them from medium-rare to medium. Use a meat thermometer and remove from the oven with the resting factor in mind. Steaks and smaller cuts of meat should rest 10 minutes, tented with foil. Larger meats, like a turkey or a standing rib roast, need 15 minutes to half an hour, tented. When you’re working out your meal timeline, make sure to account for rest time.
Rubbing and resting will elevate your cooking, so give it a try. I suspect you will become a convert.
Cover photo: Lynn Donaldson
My Master Dry Rub from my cookbook, page 280.
Master Dry Rub
Makes almost 2 cups
1⁄3 cup ancho chile powder
1⁄3 cup smoked paprika
1⁄3 cup kosher salt
2 tablespoons coarse-ground black pepper
1 tablespoon brown sugar
1 tablespoon white sugar
2 tablespoons garlic powder
1 tablespoon onion powder
Directions
Mix the ingredients together and store in an air-tight container for up to one month.